Why Laravel?
Before Install Laravel 8 on Ubuntu, we must understand why Laravel. Laravel was developed and maintained by Taylor Otwell. It is an open-source PHP application framework based on MVC architecture. If you are planning to use PHP professionally, then you must try it as it is one of the most suitable PHP frameworks. It will help you with fast development and makes it easy to maintain the project. In earlier days’ developers write their framework. And such a framework always works better if you are a lone developer. If the project is serious and the team working on it then, it would not be easy to follow standards and maintenance processes. To deal with such situations, the PHP framework Interop Group published PHP Standard Recommendation for application structure, code and file organizing processes. So let’s install Laravel on Ubuntu.
There are many other PHP frameworks like Yii, CodeIgniter, Zend, Phalcon, Symfony, CakePHP etc. However, the Laravel framework is the most popular, easy to learn and to develop web applications without any issues. It helps the developer to simplify the development process with clean and reusable code sets.
What do we need for Laravel?
In this article, we are going to learn how to configure the Laravel Project on Ubuntu. So what we need to set up, here are some imp points.
- Apache Server.
- The latest PHP version.
- PHP Extensions.
- Composer
Let’s start the process by installing the Apache server. To install it, we are going to use Ubuntu’s package manager apt. Before proceeding to install, let’s update the Local Package Index first.
$ sudo apt-get update
$ sudo apt-get install apache2 #install apache
$ sudo systemctl start apache2
$ sudo systemctl enable apache2
$ sudo systemctl status apache2 #check apache is working or not.

Output ( apache status )
apache2.service - The Apache HTTP
Server Loaded: loaded (/lib/systemd/system/apache2.service; enabled; vendor preset: enabled)
Active: active (running) since Sat 2020-05-30 10:53:41 IST; 1 weeks 1 days ago
Docs: https://httpd.apache.org/docs/2.4/
Main PID: 1386 (apache2)
Tasks: 11 (limit: 9377)
Memory: 30.6M
CGroup: /system.slice/apache2.service
├─ 1386 /usr/sbin/apache2 -k start
├─116040 /usr/sbin/apache2 -k start
├─116041 /usr/sbin/apache2 -k start
├─116043 /usr/sbin/apache2 -k start
├─116044 /usr/sbin/apache2 -k start
Now Laravel server needs to install the latest PHP stable version with some extensions. BCMath, JSON, Mbstring, OpenSSL, PDO, Tokenizer and XML extension required. However, most of the extensions are already installed and enabled by default. So we will run the following command to make sure all extensions are installed.
$ sudo apt install openssl php-common php-curl php-json php-mbstring php-mysql php-xml php-zipAt the time of writing this post, 7.4 is a stable PHP stable version so we can install version-specific extensions.
$sudo apt install php7.4 libapache2-mod-php7.4 php7.4-bcmath php7.4-json php7.4-mbstring php7.4-xml php7.4-zip php7.4-common

$php -v #Check PHP version.

#sudo systemctl restart apache2 #Restart your apache after update.
Install Composer
We will install a composer now, Laravel uses a composer to manage project dependencies. Composer is the dependency manager for PHP.
curl -sS https://getcomposer.org/installer | sudo php -- --install-dir=/usr/bin --filename=composerThe user follows the command to verify the installation.
$composer -VInstall Laravel on Ubuntu
At the time of writing this post, Laravel 8 is a stable version. Now time to set up a Laravel project. We will set up it in the root directory of the Apache webserver folder i.e. “var/www/html/” so navigate to the folder.
$ cd /var/www/htmlUse the following composer command to set up the project folder with the latest Laravel version.
$ sudo composer create-project laravel/laravel=”8.0” project_namePlease replace project_name with your project name. We will test-run our project by using a Laravel webserver. For that navigate to the project_name folder and use the following command
$ cd project_name
$ php artisan serve

Output

Starting Laravel development server: http://127.0.0.1:8000
[Sun Dec 13 15:15:08 2020] PHP 7.4.9 Development Server (http://127.0.0.1:8000) started
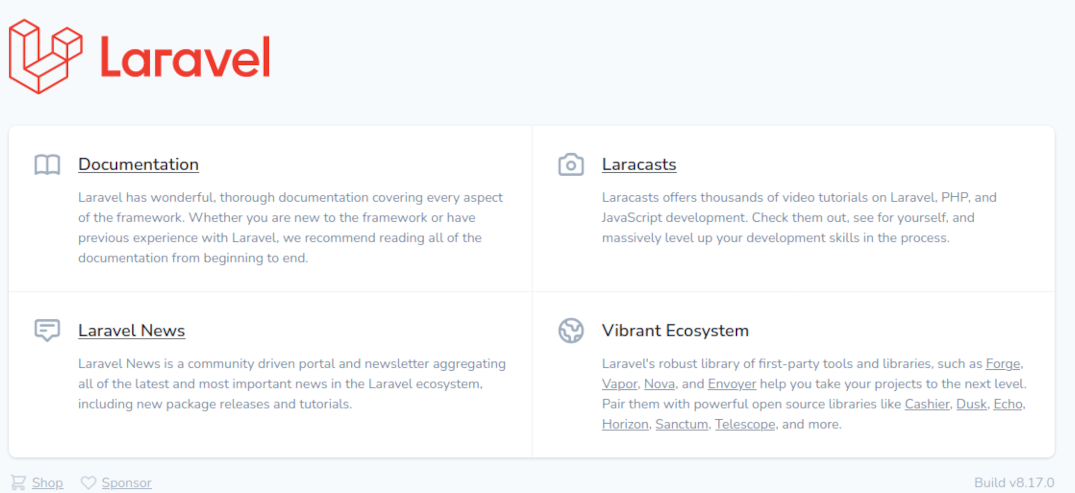
URL will open following the default Laravel Home Page.

Laravel configuration on Apache / Setup Virtual Host
After folder setup and Laravel, now we are going to configure Apache for the project. Let give access to non-root users to modify, delete and create a file in the working folder.
$ sudo chown -R $USER:$USER /var/www/html/project_name/Now give read and execute permission to permission to parent folder.
$ sudo chmod -R 755 /var/www/html/project_name
$ sduo chmod -R 775 /var/www/html/project_name/storage
After this, let’s configure to run our Laravel application. Therefore make a copy of the default Apache config and make changes according to the requirement
$ sudo cp /etc/apache2/sites-available/000-default.conf /etc/apache2/sites-available/project_name.conf

$ sudo nano /etc/apache2/sites-available/project_name.config
Edit and replace /var/www/html with /var/www/html/project_name/public and then save the file. After this, we enabled it and check the configurations error for any syntax error.
<VirtualHost *:80>    ServerAdmin admin@project_name.com
    ServerName project_name.com
    ServerAlias www.project_name.com
    DocumentRoot /var/www/html/project_name/public_html
    ErrorLog ${APACHE_LOG_DIR}/error.log
    CustomLog ${APACHE_LOG_DIR}/access.log combined
</VirtualHost>
$ sudo a2ensite project_name.conf - ( Enable Config )
$ sudo apache2ctl configtest - ( Check Error )
Output: Syntax OK Now map the local IP address with our local hostname to access our project in a local system. Hosts file used by operating system to map reference between local IP address and custom hostname. Edit the host file to make changes.
$ sudo nano /etc/hosts Enter the following records in the hosts’ file to access the project on a local machine.
127.0.0.1 project_name.com
Now restart the Apache server to apply changes.
$ sudo systemctl restart apache2In conclusion, we successfully installed and configured Laravel 8.0 ( LTS ) with PHP 7.4. Laravel has a huge developer community and a massive ecosystem of both official and third-party packages that we can use in our projects. You can find the community on laravel.io, Laracasts Discuss, LaraChat, Discord, Reddit and laracon.net.
Visit our other Laravel Post: Laravel Project Structure


