Learning Python
Python is a high-level, general-purpose and very popular language. Guido van Rossum was created in 1991 and named on the BBC television show ‘Monty Python’s Flying Circus. Because of the rich base library, developers use it in many types of projects like Websites, Software development, Machine Learning, Automation Data Science etc.
It has a very simple syntax that is easier to write and understand so it is very popular with beginner-level programmers. It is open-source, meaning it is free to use and distribute, even for commercial purposes. Python has a very large and rich, active community that creates an ecosystem of support for developers. So let’s start learning python with the installation.
Install Python
So macOS comes with default version 2.7, which is officially abandoned by the python community. So till macOS comes with the latest default python version, we have to install and configure it manually. Now let’s start the installation with the following steps.
Install-Package Manager
We need Package Manager to install python. There are two package managers working for macOS, the first is MacPorts and the other one is Homebrew. We are going to use Homebrew as it is used vastly, has a rich community and is more user-friendly. To install its packages, Homebrew needs a compiler. To get a compiler we will install Xcode. Xcode is a development environment for macOS and has all the support tools including a compiler that developers need to develop Apple OS apps.
After installing Xcode and Xcode Command Line tool, we will install Homebrew. Open Terminal ( Reference Link to Apple World – Open Terminal ) and enter the following command
/bin/bash -c "$(curl -fsSL https://raw.githubusercontent.com/Homebrew/install/HEAD/install.sh)"Install Python Environment
Now time to install and manage different versions by using pyenv. Pyenv is a Python version management tool. It will make it easy to install and change versions, projects ( Directory ) specific versions and develop and manage virtual python environments. Sometimes developers work with older and newer versions because some packages or libraries are not compatible with some versions. So we will work with pyenv to install and manage different versions easily. Execute the following command to Install pyenv with homebrew.
$ brew install pyenvVerify that pyenv is installed or not. Can execute the following commands.
$ pyenv --version
$ which pyenv
$ brew info pyenv
Let’s start installing python with pyenv. You can use the following command to install any python version.
$ pyenv install 3.9.2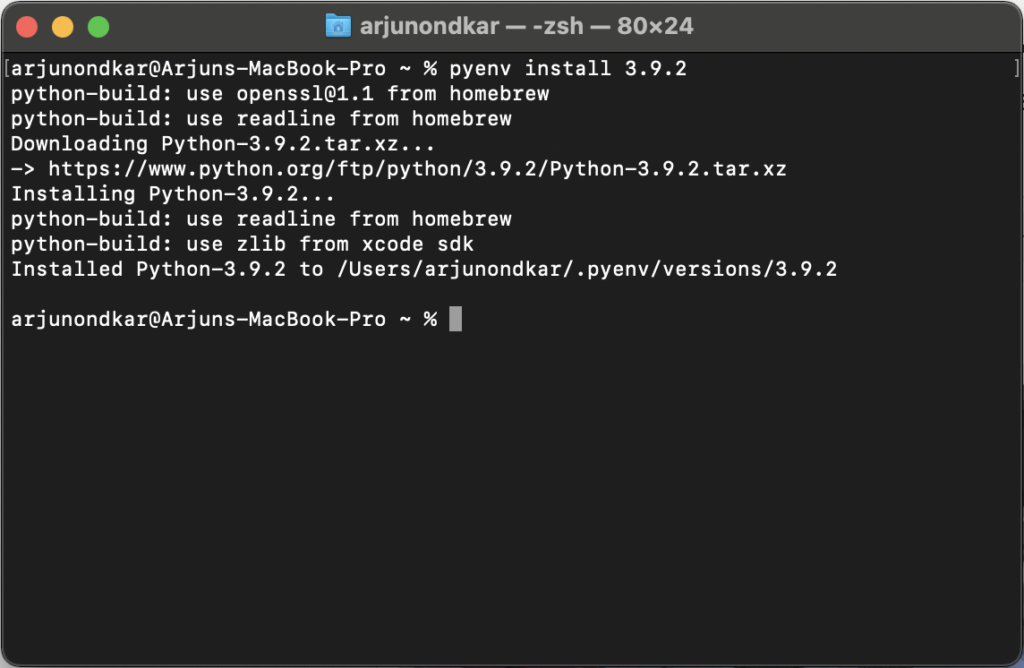
Now run the following command to check what versions are installed. It will list down all installed python versions with an * indicator to identify which version is set.
$ pyenv versions

Output

 * system  (set by /Users/arjunondkar/.pyenv/version)
 3.9.2
As per the above output, System Python is the default version and is set as the global version. Execute the following command to set the global version which we want.
$ pyenv global 3.9.2To confirm that our command was executed successfully and the decided version ( e.g. 3.9.2 ) set as the global version run the following command.
$ python --version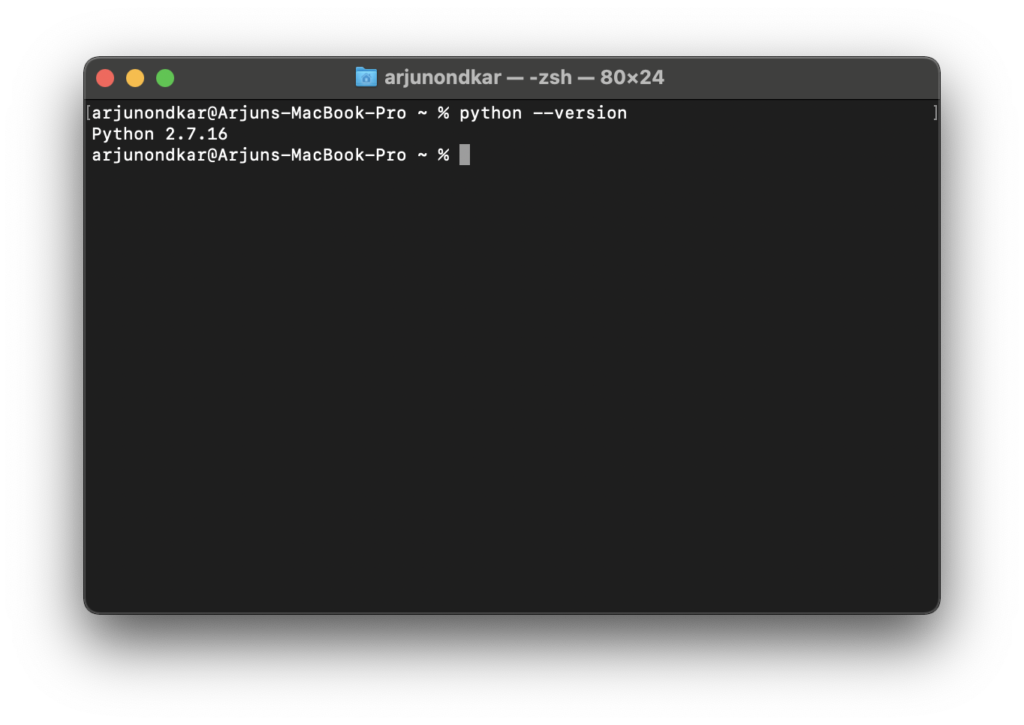
As we can see, the system python version is still showing the global version. Python 3.9.2 was installed but did not get invoked. It is because pyenv used shims to manage different installed python versions. We need to add the following shims path to the beginning of our PATH so that when we execute the pyenv global <python version> command, pyenv reads the various sources to decide which python version to use. Copy the following path and add it to your PATH.
$(pyenv root)/shims: (Colon characters separate folders in the PATH)
How to add PATH
To add PATH open a new terminal and navigate into your home directory. Check if we have any hidden .zshrc files. If your Mac OS is Mojave or an older version, we would use vim .bash_profile. The rest of the steps are the same.
$ cd ~
$ ls -a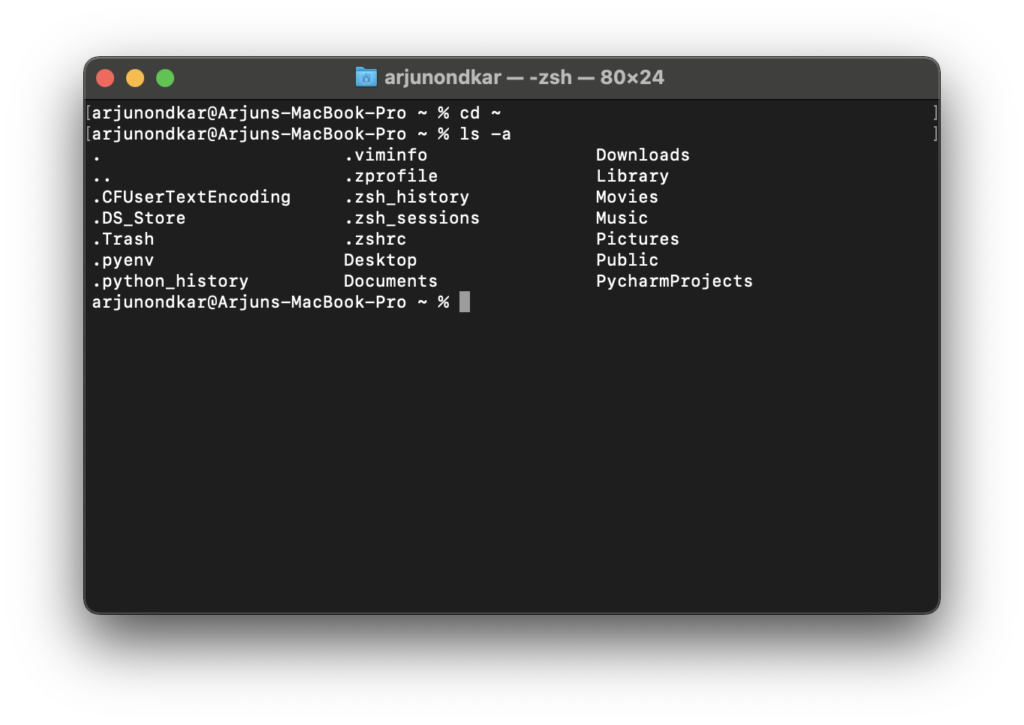
I already have a Z shell command file in my home directory, if it does not exist in your folder, does not matter, we will run the following command to open the existing one or to create a new file.
$ vim .zshrcWe will add the export command and append the pyenv shims directory PATH to the current PATH. If you already have the export command in your file then just add the shims directory. So finally my .zshrc file will look like the below.
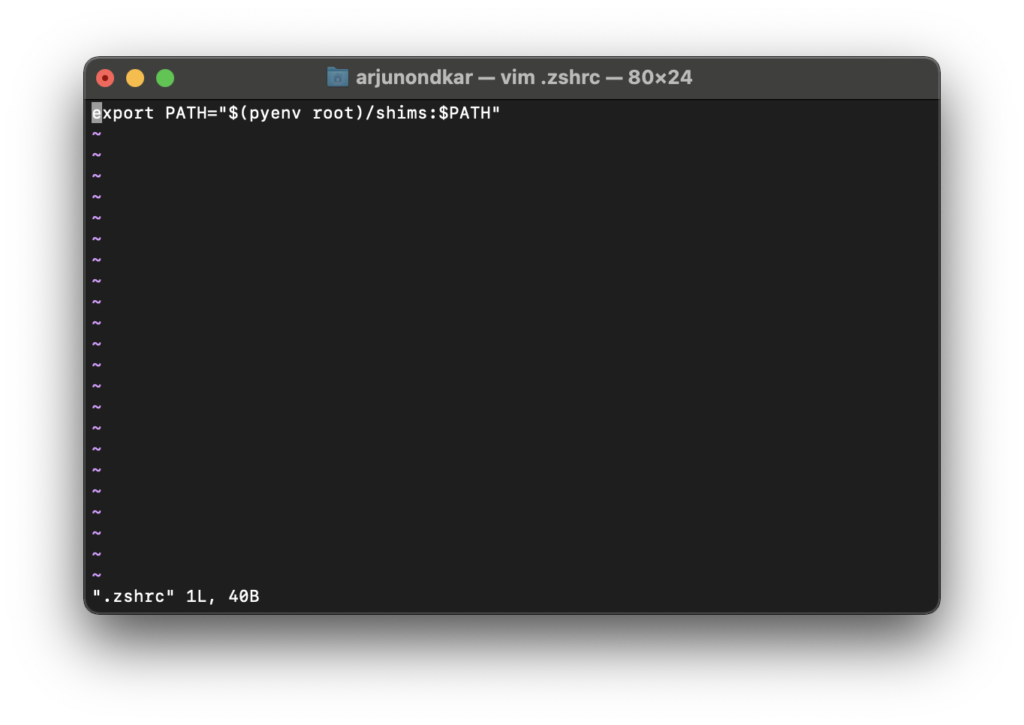
export PATH=”$(pyenv root)/shims:$PATH”
Quit the terminal, for changes to take effect, and restart the terminal. Check pyenv versions to check installed python versions. Now run pyenv global 3.9.2 to set the version as the global version. Run python –version and pyenv versions, It should now be python 3.9.2 is the default. Even if we run the pip –version it should show that pip is also configured and it is linked to python 3.9.2.

Done!!! All is set up. Now relaunch the shell and check everything working fine run $ source ~/.zshrc Follow all steps to install another version of python and set the global version. We can install and manage all available python versions. Now use your favourites IDE and start python coding.
Uninstall python
To uninstall the version which was installed using pyenv. Enter the following command and give permission to uninstall.
$ pyenv uninstall 3.9.2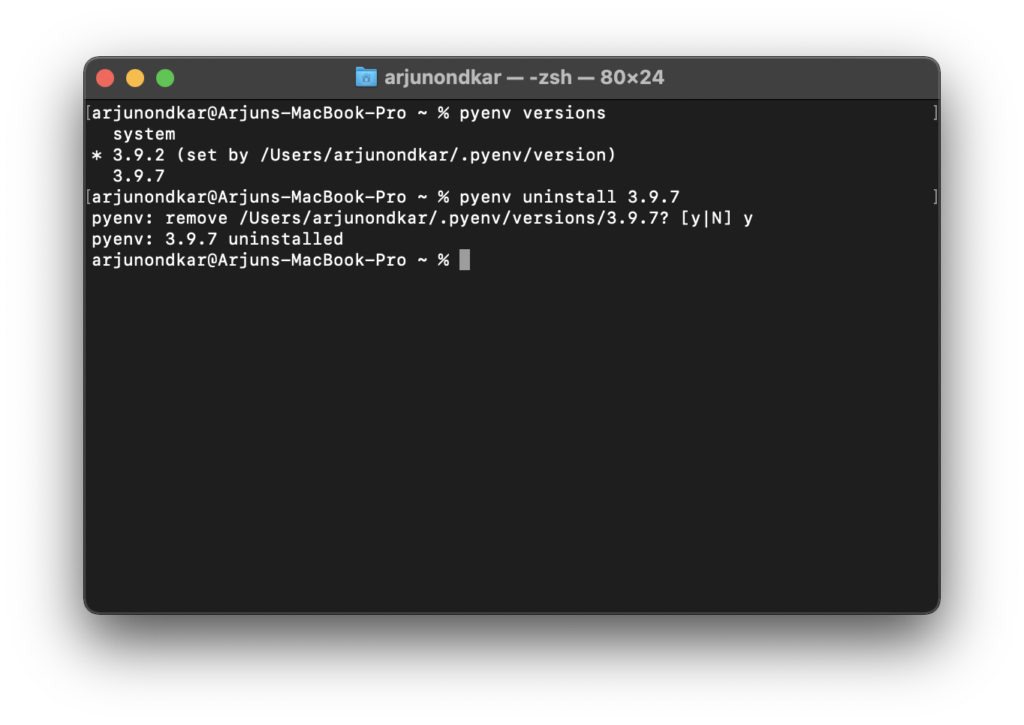
We hope it will help and if you think it is useful please share it with others.
Extra
If you are working with BigSur ( I am working with BigSur 11.6 ) you may face issues ( Check the below error ) with the python 3.6 installations as it is in the security-fix-only phase of its life cycle. Python will still not execute correctly on macOS 11 Big Sur as there are a number of other run-time issues that would need to be fixed. At the moment, only Python 3.9.2 is fully supported on Big Sur.
$ pyenv isntall 3.6.7


