Table of Contents
- A little bit about Apache Server
- XCode command line tools
- How to Install Package Manager
- How to Check homebrew
- Disabled build-in Apache in macOS
- Install HTTP server via brew
- Test Location of Server
- Commands you must know.
- Conclusion
Installing Homebrew’s Apache server on macOS is one of the other posts in our Web / WordPress development category. We already discussed how we could do development with the MAMP tool. If you want to know more, visit Install of MAMP on macOS and How To Create Virtual Host in MAMP? But if you are not interested in any third-party application, then you are at the right place. We will discuss and learn the installation and configuration of Homebrew’s Apache HTTP server.
Note: This blog is primarily for macOS 13 “Ventura” ( PHP and Perl’s support removed from Apache – macOS 12 Monterey version ) users. Please check your macOS version before proceeding. You can run the following command and check line number 187 of this file for PHP support.
$sudo vi /etc/apache2/httpd.conf
A little bit about Apache Server
Apache HTTP Server is an open-source project by Apache Software Foundation. It is a cross-platform web server, developed and maintained by the open-source community. There are different versions and it is designed for different purposes. We are using a version specially used for local development work. It is also one of the best and most popular servers for WordPress projects. Now let’s learn step by step about local installation.
XCode command line tools
Please check if Xcode is installed or not, you require it because it will be used by homebrew. Xcode is used by Apple developers to develop Applications for Apple products.
$ xcoode-select -v

Response

xcode-select version 2396.
If Xcode is installed, you will get something like the above response, else you will get an error “command not found”. Use the following command to install XCode. Xcode is a big-sized application and will take some time to install. Learn more about XCode.
$ xcode-select --installHow to Install Package Manager
You need a package manager for our installation process. Homebrew is one of the best options for package managers. It will help you to enhance your productivity and functionality in development. If it fresh installation, don’t worry, It is a very simple process. Open your terminal and type the following command, and enter your password wherever required.
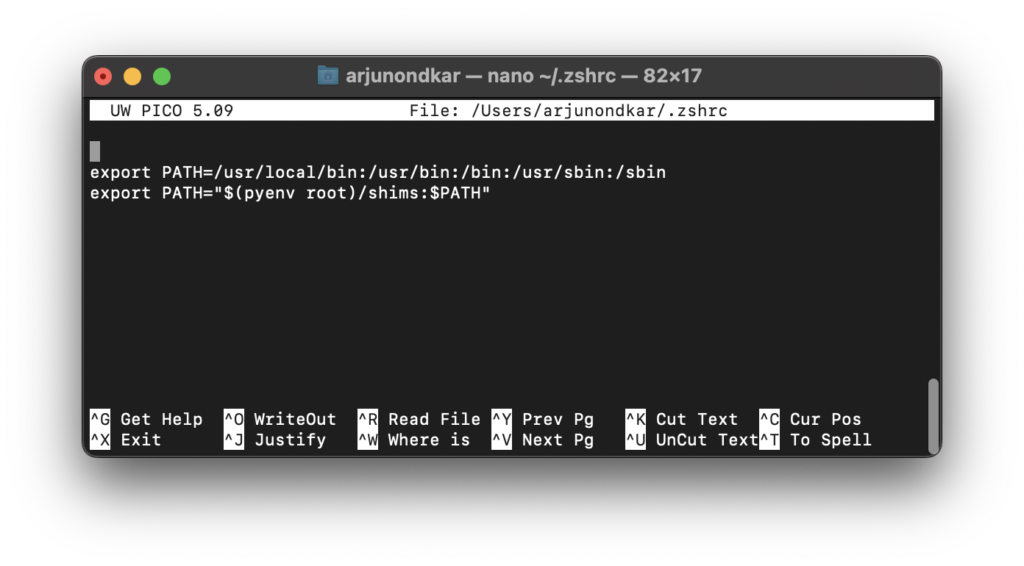
$ /bin/bash -c "$(curl -fsSL https://raw.githubusercontent.com/Homebrew/install/HEAD/install.sh)"This installation will take some time. To work with the package manager smoothly, you need to set up the system path correctly. You can follow the “next step” section in the installation response else you can add the below lines manually to your .bashrc or .zshrc
eval "$(/usr/local/bin/brew shellenv)"
How to Check homebrew
$ brew --version

Response

Homebrew 3.6.21
Homebrew/homebrew-core (git revision 2462530f4a7; last commit 2023-02-15)
Execute the following command to check every configuration and updation is done properly and completely
$ berw doctorIt will guide you if you require anything to be corrected. Learn more about the brew
Disabled build-in Apache in macOS
The MacOS 13 Ventura comes with Apache 2.4 pre-installed. This apache configuration is not an easy task as you know Apple removed some scripts. So you are going to use Homebrew’s Apache HTTP server. Before starting the installation, please check which version of Apache is installed and is running on your system.
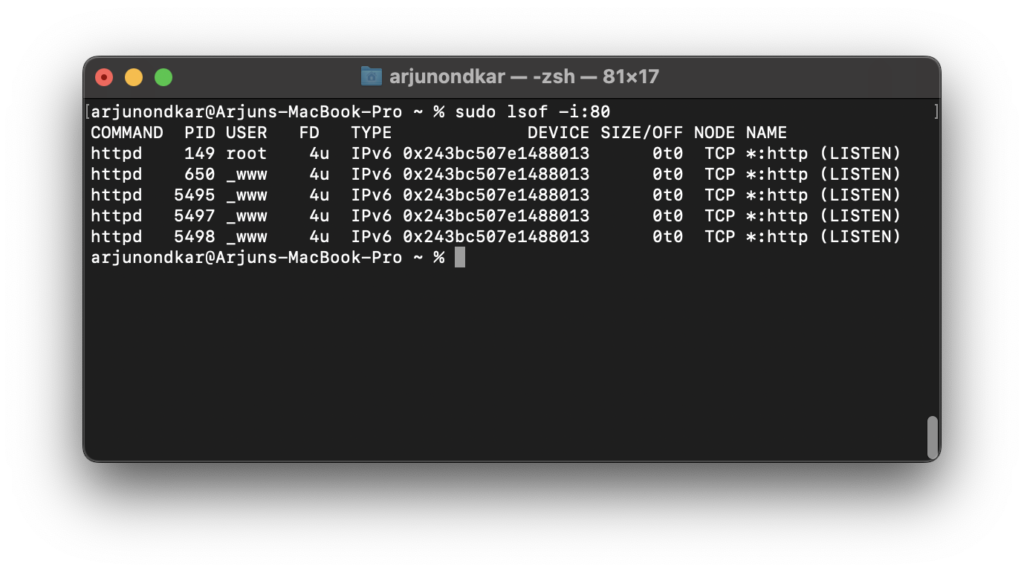
$ sudo lsof -i:80
No response indicates Apache is not running. If you see a response ( httpd records as above ) then it is running. You need to shut down and also need to unload on system restart. Execute the following command to unload Apache.
$ sudo launchctl unload -w /System/Library/LaunchDaemons/org.apache.httpd.plist Install HTTP server via brew
First, you will update our Homebrew packages. It is best practice whenever you install any package, please update brew to fetch the latest versions from the database.
$ brew update
$ brew upgrade
$ brew doctor
Now let’s install Apache via brew.
$ brew install httpd

Response

DocumentRoot is /usr/local/var/www.

The default ports have been set in /usr/local/etc/httpd/httpd.conf to 8080 and in
/usr/local/etc/httpd/extra/httpd-ssl.conf to 8443 so that httpd can run without sudo.

To start httpd now and restart at login:
  brew services start httpd
==> Summary
🍺  /usr/local/Cellar/httpd/2.4.55: 1,663 files, 31.6MB
You already unloaded default Apache from the background services, now you need to set the newly installed server to auto-start on boot. So whenever the system restarts, the service will initiate on boot, do no need to start it manually.
$ brew services start httpd The MacOS will notify you that your service is added and running in the background.

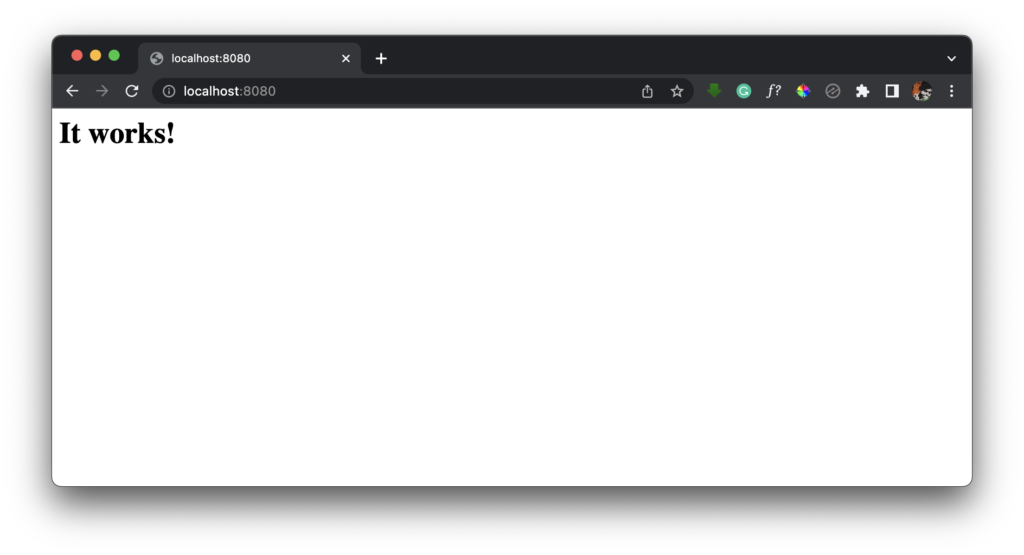
You have successfully installed brew’s Apache and also set it to auto-load. Now it is up and running. You can check in a browser by accessing the URL “http://localhost:8080”. You can see the “It works!” default page on the screen. By default Homebrew’s server is listening on ports 8080 and 8443. We can change these ports as suitable. We will learn how we can change it in our other post i.e. set virtualhost with Server.

Now everything is installed and working. Still, we will cross-check and execute the following commands to verify.
$ sudo lsof -i:8080

$ sudo lsof -i:80
Test Location of Server
The following command will display the location of the server. According to the path, we can identify which Apache is in operation. If you see a pre-install server path after execution, then you need to restart your machine. Check the path again and you will new server location.
$ which httpd

Response

/usr/local/bin/httpd ( New Server Location )

OR

/usr/sbin/httpd ( Pre Install Server Location )
Commands you must know.
There are some useful commands that you may use during your installation and configuration. Go through the following commands.
How to Stop Server.
$ brew services stop httpd How to start Server.
$ brew services start httpdHow to Restart Server.
$ sudo services restart httpdConclusion
Finally, you successfully installed the Server via brew. We hope you enjoyed the installation and followed all steps properly. Still, if you face any difficulties or have any queries or suggestions, please feel free to write to us in the comment section. We are welcome and will try to resolve it. Please visit our next blog i.e. How to set up virtualhost in brew Apache Server if you want to learn it.


