MAMP stand for My Apache, MySQL and PHP. It comes with free and paid versions for Windows and macOS. Your work will improve by using its features like creating templates of setups and configuration settings that you can reuse whenever you create a new WordPress or website project. The most useful feature of the paid version is WordPress Site Migration whenever you change your hosting partner. You can easily migrate your setup to a new server. Another feature is Mailhog which will help you in testing mailing modules. Another feature like the Local DNS server NAMO will help you To test your project on mobile devices.
What did we require to install MAMP on Mac?
To install MAMP, we require macOS Sierra 10.12 or later. The user must be part of the admin group. Let’s see how we can check it. There are two simple ways to confirm user status. Go to System Preferences… >> User & Group Or open Terminal and enter the following command.
$ dscacheutil -q group -a name admin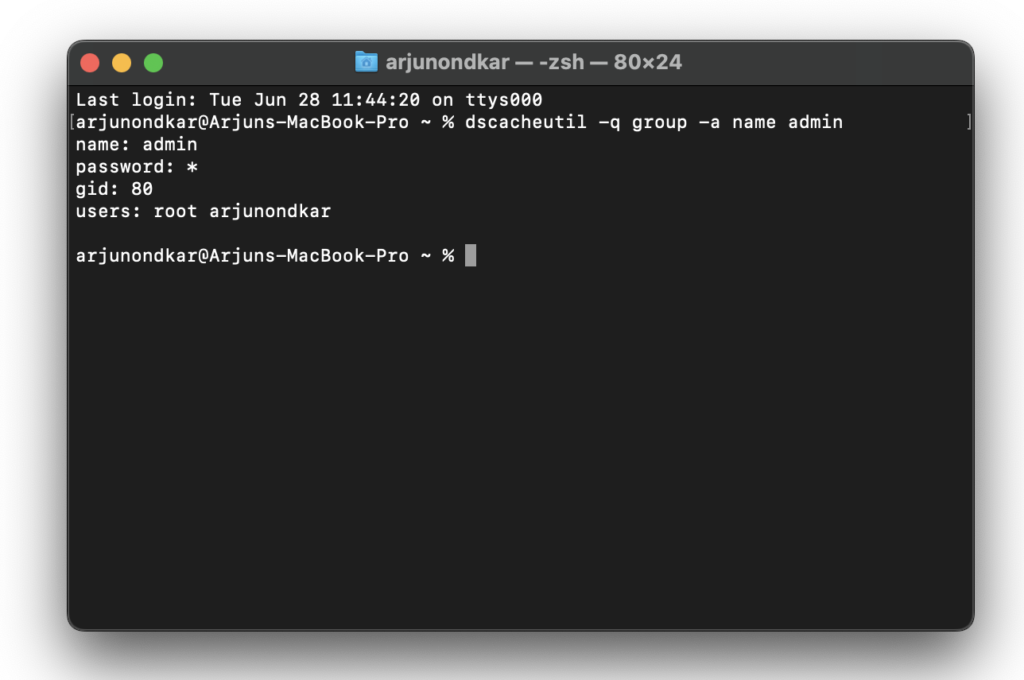
Installation Process
Open your favourite browser and download the latest version also it is a compatible system from the official website. Installation setup includes Free and Pro versions. So the download file size is quite large.
Once the download is completed, start the installation by clicking the pkg file. As the usual first screen is the introduction screen, so click the continue button to proceed with the installation.
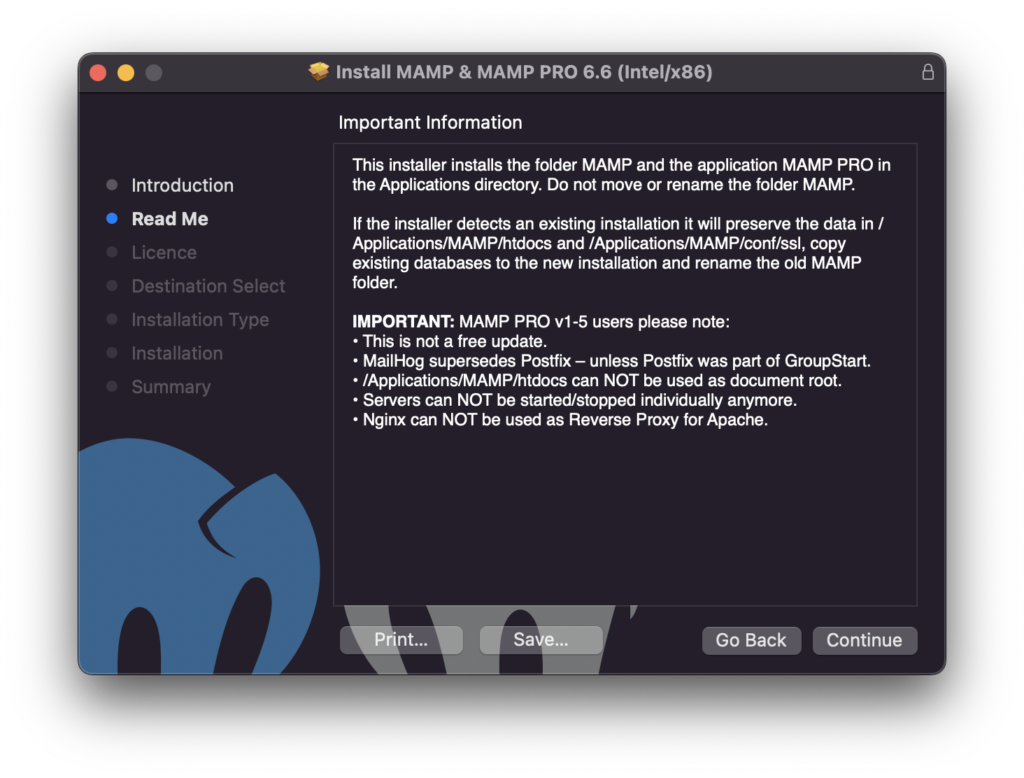
The next Screen is the “Read me” screen. Read Important information about installation if you have an earlier version then the process will take a backup of your existing settings and databases. We will talk about it at the end of this blog. After reading click the “Continue” button.
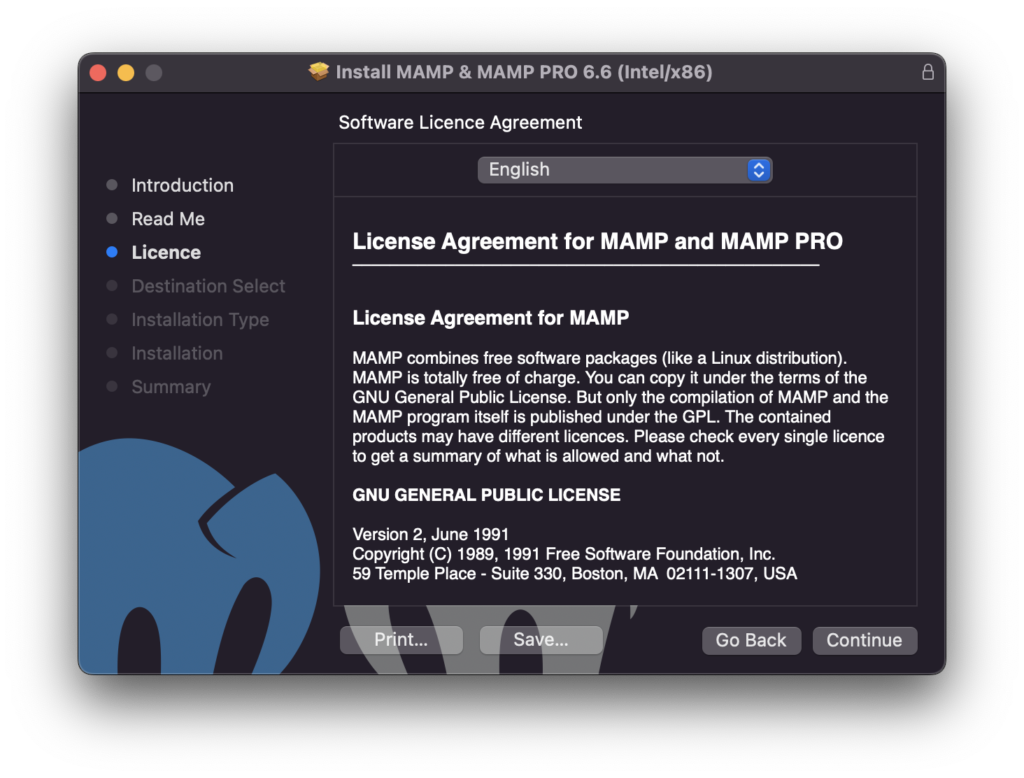
The next screen is the Licence screen. If you wish, you can read the license agreement in detail. If you want to read it in your free time, take a printout or save it. Click the continue button to proceed. The installer will open a dialogue box to ask you to click Agree button if you want to continue your installation.
The next screen is the Destination screen. Most of the mac machine does not have multiple partitions as we can see in Windows machine. So most of the time you will see a single disk where you can install it. Hit the continue button to proceed with the installation.
The next screen is the Installation Type screen. In this section, the installer offers two options for the installation type. One is standard installation and the other is customised installation. As per your requirement, you can choose to standard or customise the installation. If you are updating the existing version, customize button will not appear. If you are a first-time user then the button will appear and allow you to customize the installation. Believe me, you can choose a standard option and it is enough for local development work. Click the Install button to continue the installation.
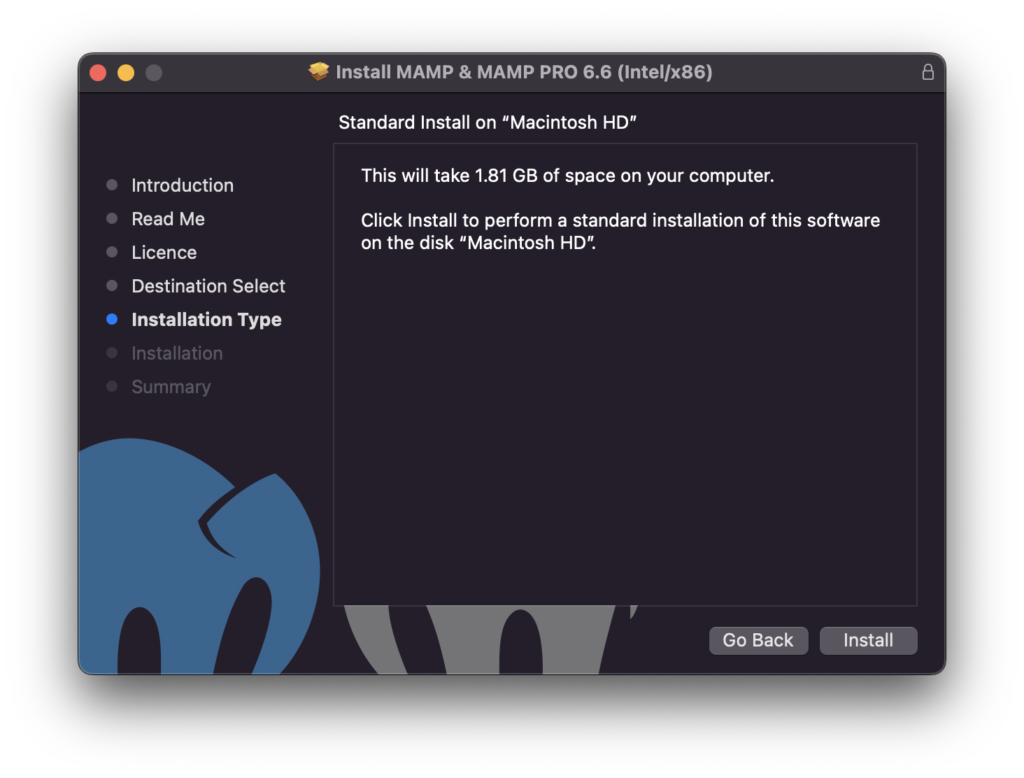
If your Mac machine is password protected, it will ask you to get a login to approve the installation. Use Touch ID If your mac with a touch bar. Once you approve, the installation process will start.
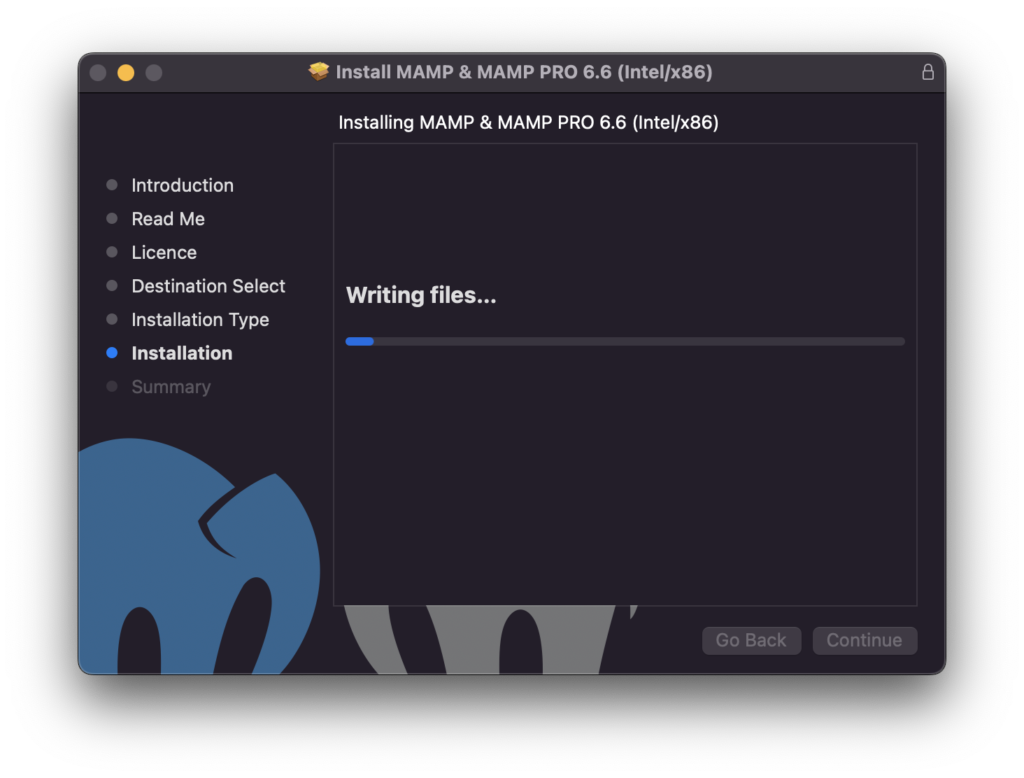
Once installation is completed, you can click the close button to close the installation. If you using macOS Sierra or later, it will ask whether you want to move the installer to the trash. So before moving to trash, please check all backups and servers are working properly. Then to delete it you can click “Move to Trash”
Open MAMP
You can use shortcuts by using Command + Spacebar. It will open Spotlight search, type “MAMP” and hit enter. Another way is Finder, open it. Go to Application >> MAMP folder and double-click on the MAMP icon to start it. Click on the Start button that will start servers.
Upgrade from Version 5
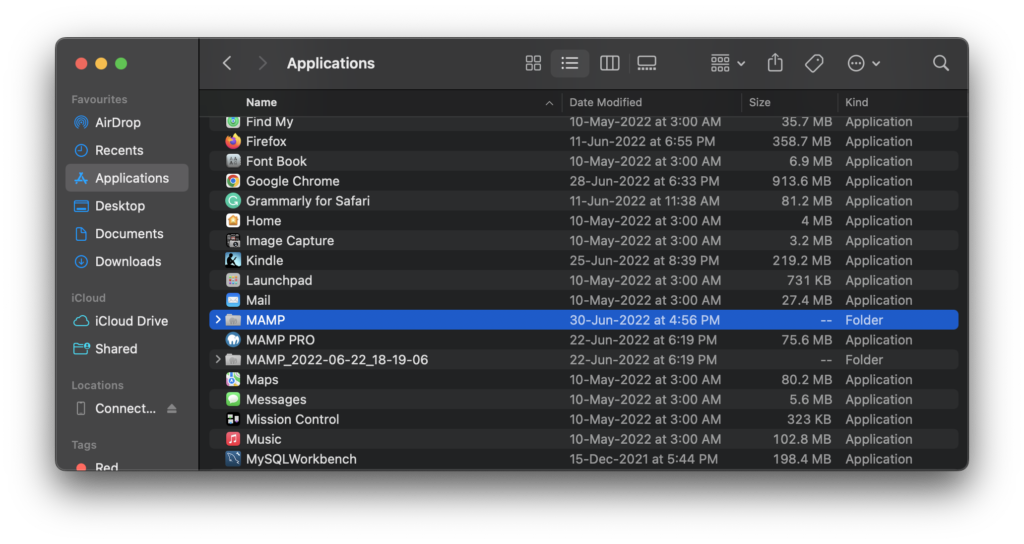
If the installation detects an existing installation it will make a copy of “/Applications/MAMP/conf/ssl” and “/Applications/MAMP/htdocs” from the old folder. It also copies the existing database to a new installation. If you see the above image carefully, you can find the folder named “MAMP_2022-06-22_18_19_06” which will have your old files. So before starting your work, please confirm that all data has been transferred correctly. If everything working fine, the installer will ask to move it to the trash.
Upgrade MySQL Database
Always check new updates for MySQL. If you have not updated your database files to MySQL 5.7 (The Latest ), It will give a notification to upgrade. In case you missed a notification and want to update, then please go to Tools >> Upgrade MySQL database. So before you start work on your project it is best practice to keep the software updated.
How to uninstall mamp?
Uninstallation of applications in macOS is a little different from the way we uninstall applications in Windows OS. Most macOS applications are groups of files that contain the executable and associated files. If you want to remove any application then navigate to the application folder in the finder. Just drag and drop the application folder in the trash and then clear the trash. If you have using the PRO version then use NAMP PRO Uninstaller.
We hope this blog will help you with the MAMP setup. If you are interested to know about WordPress, you must read Free and No 1 CMS WordPress.
Please check How to Configure Local Website – Linux – Ubuntu


